")


Manual for the eXtro Download component (joomla download manager)
1. Downloading the eXtro Download Manager from our shop
After your purchase, you have 2 possibilites of downloading the installation file:
a. click the download link in the confirmation email or b. login to our site, click the item Account in the menu to the right, click orders and find the download link in the respective order.2. Installation
After you've downloaded the eXtro Download Manager for Joomla installation file, you can install it on your Joomla! site. In the backend, click Extensions->Manage->Install , and either
click the Search button and navigate to the directory where the installation file is stored, or drag the installation file to this field (Drag'n'Drop) Now click Upload & Install to install the eXtro Download Manager component. The component will be installed including the neccessary plugins.
3. Configuring the eXtro Download Manager
After installation has finished, you should configure the component. In the backend, click Components->eXtro Downloads . When the component has loaded, click the button Options to the upper right.
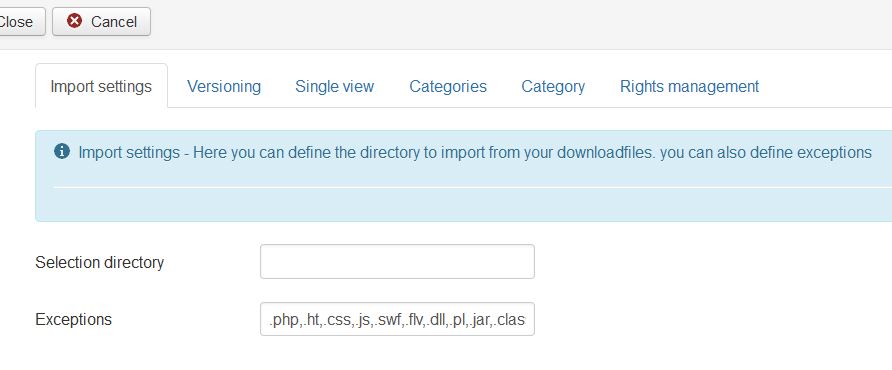
The most important settings are the import settings. Here, you can enter your Selection directory. This is the directory used for the quick select box in the eXtro Download Manager Edit view.
Also, you can set the exception patterns list. Files containing one pattern from this list in their filenames will not be imported. Some default patterns are already entered, but not active. You need to save the options first to activate them.
Example: Your directory contains 2 files: picture1.jpg javascript.js.jpg
If you start import with default settings, the first file (picture1.jpg) will be imported correctly. The second file will not be imported, since its filename contains the pattern .js, which is part of the default patterns.
4. Creating downloads in the Download Manager for joomla
First, you should create a category structure There are no default categories, so you need to create at least one.
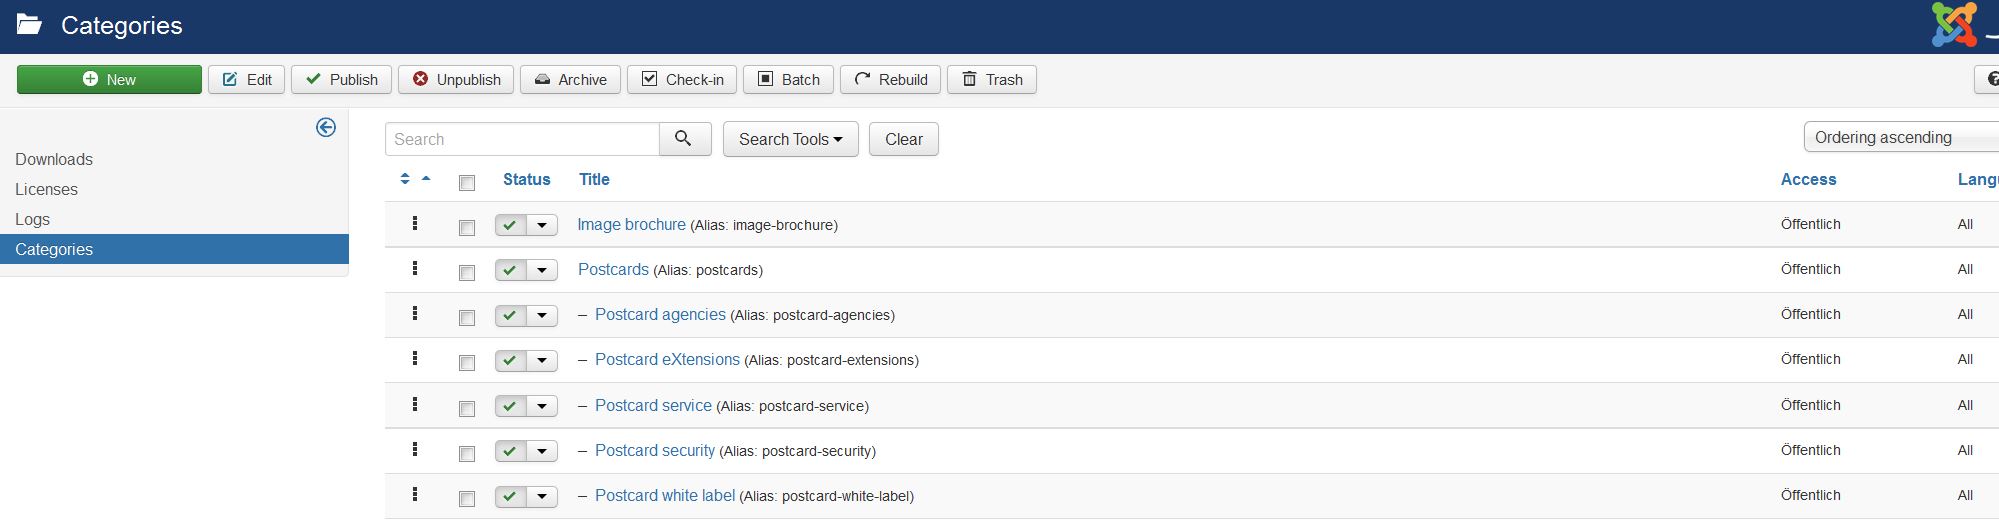

If you offer only few download files, one single category might be enough. However, the eXtro Download Manager is flexible enough to support unlimited categories.
Also, categories are important for some frontend views. The accordion view e.g. uses level 1 and 2 categories only to display the accordion correctly, see chapter 7.
When you've created your category structure, you can optionally also create licenses, see chapter 8. Each single Download can be set to a mandatory License acceptance (optional) This feature can also be used to create a mandatory confidentiality agreement.
The next step is to create your Downloads - there are 3 ways to do so:
a. Create Downloads manually b. Import files from a directory (also from a 'safe' directory outside the Joomla docroot) c. copy existing Downloads and edit them afterwards4.1 Create Downloads manually
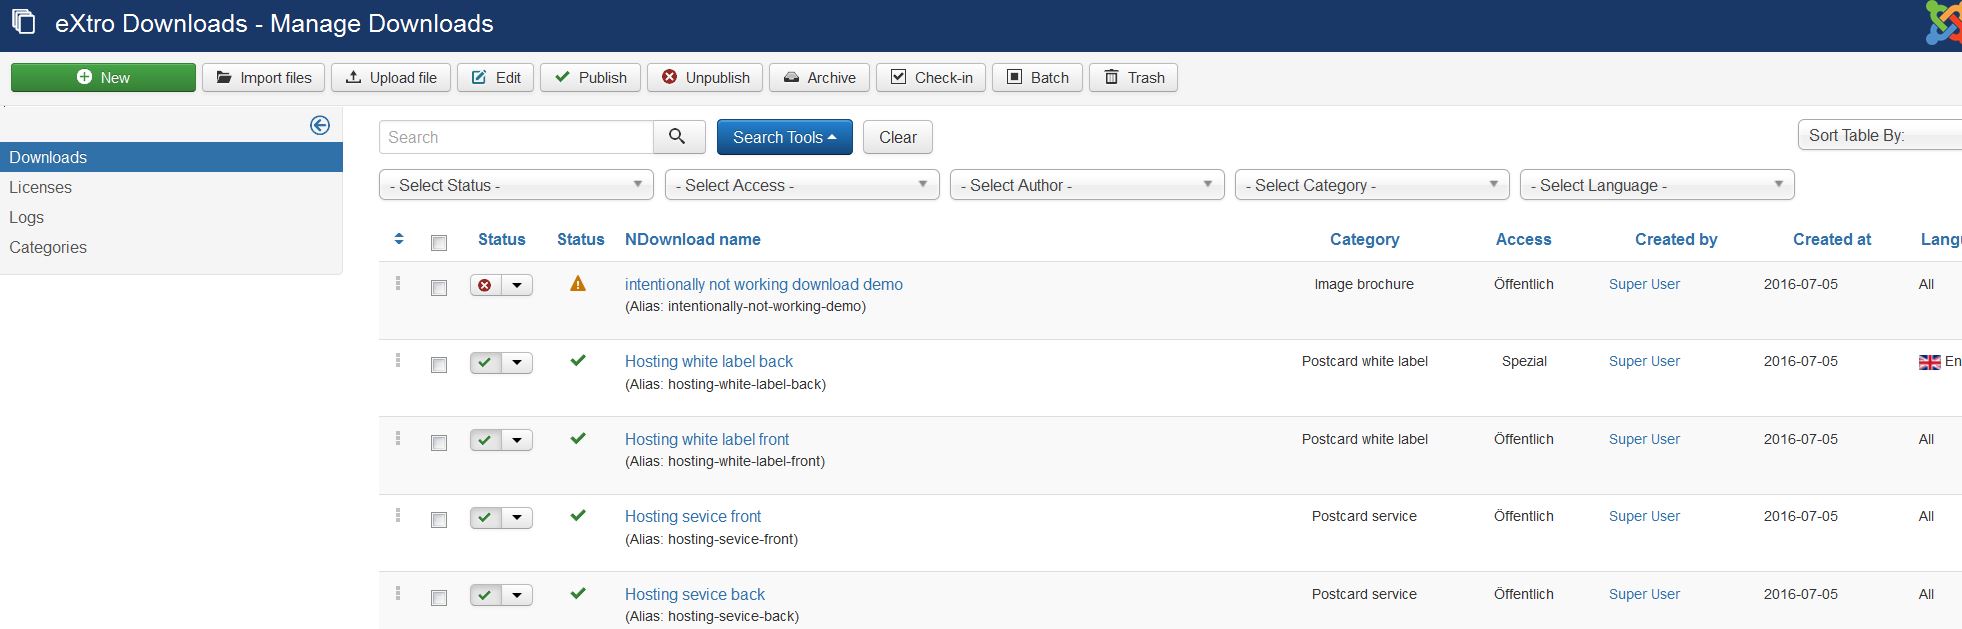
In the Downloads list, click the button New - a edit form will be opened to create a new item.
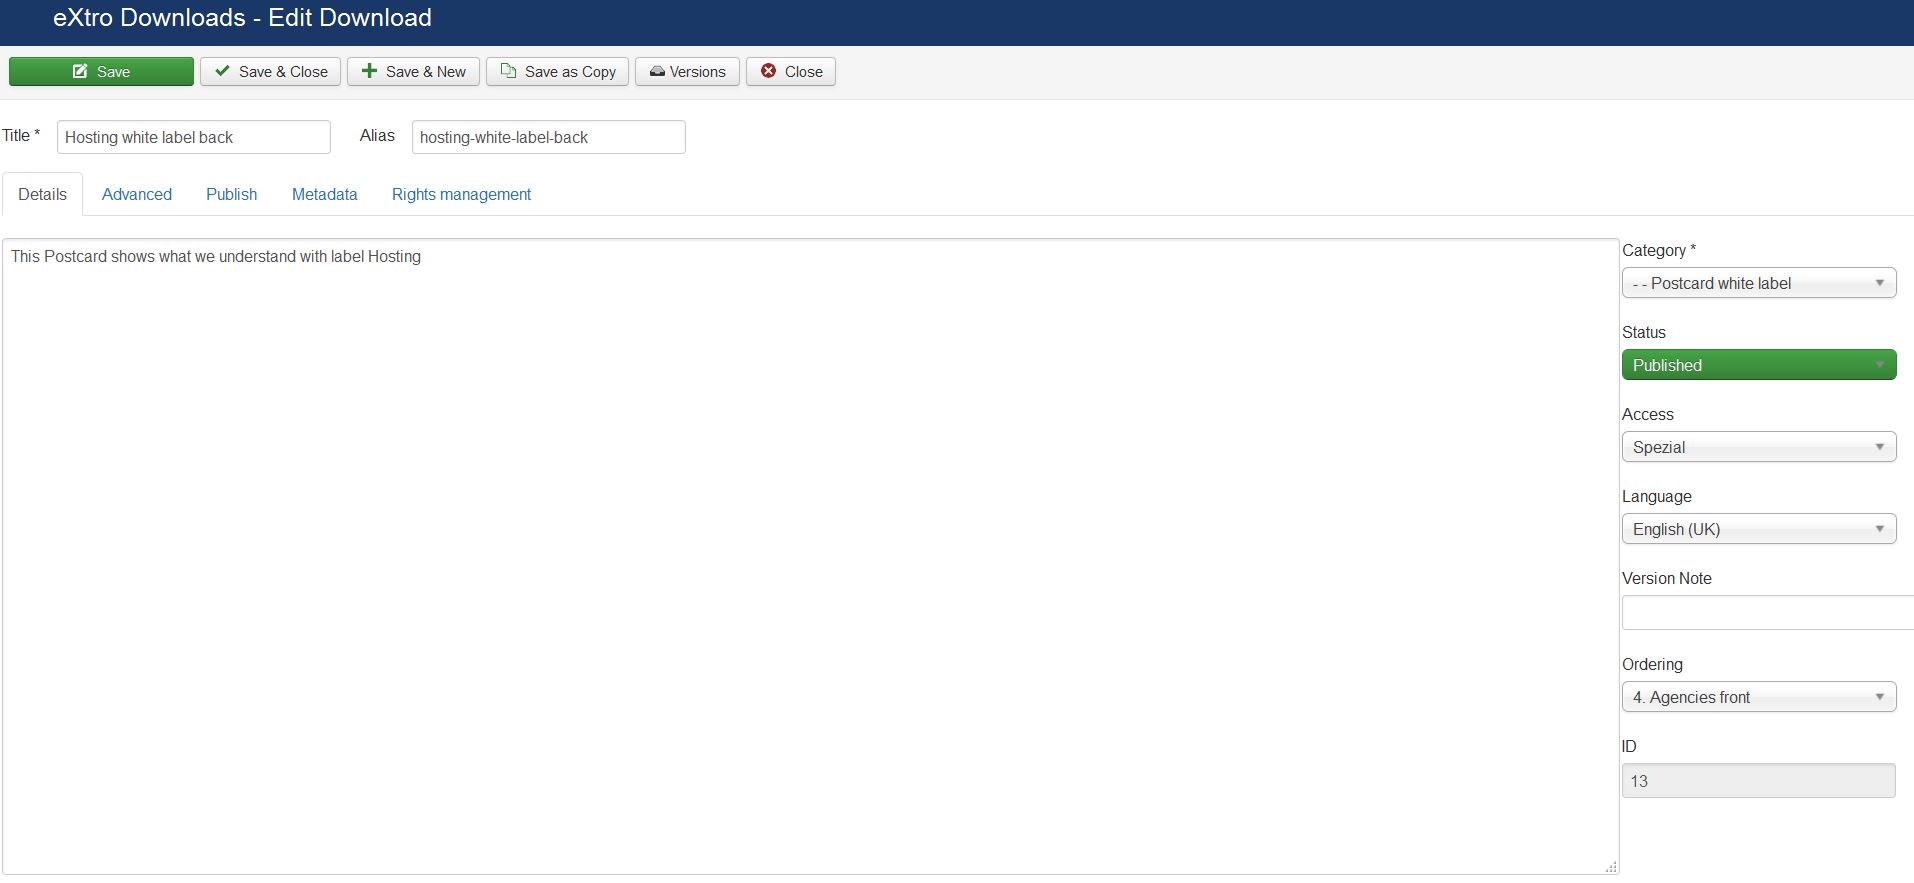
Tab Details: This tab contains the general settings. You can e.g. set a description, category, status, access level and language
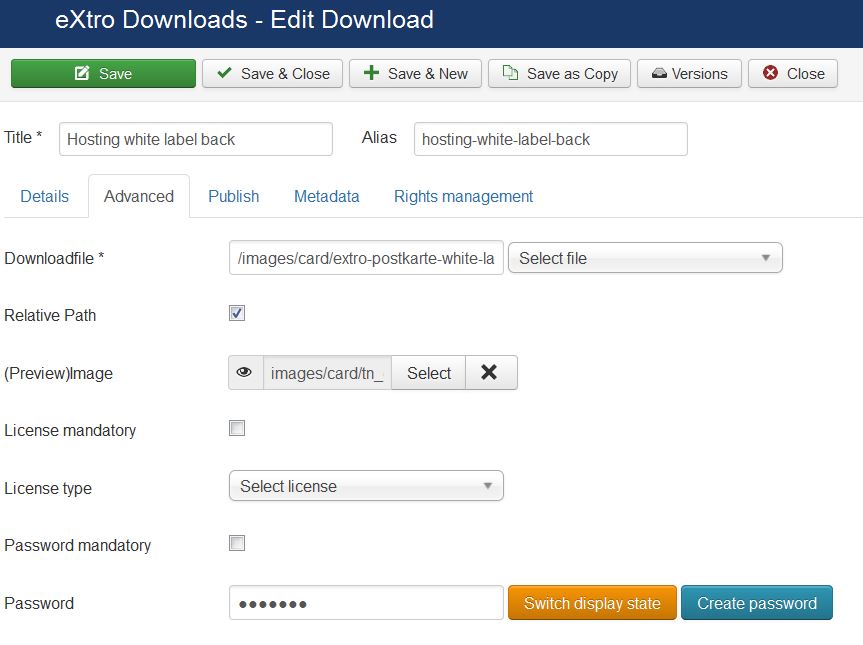
Tab Advanced: In This tab, you can set the download file, its password and license
Downloadfile: Enter the (full) path to your downloadfile. The path refers to the servers root directory (/), the file and directory must be accessible by PHP. Alternatively, you can choose a file from the quick select list - using this list will create a relative path. Caution: If you didn't change the Selection path in the component general options, these files are accessible directly via the web server, i.e. everyone who knows the direct link has access to this file. We do not recommend using this configuration - you should at least use a .htaccess file (or similar means) to block general acces to your download files in world accessible folders.
Preview image: Here, you can (optionally) select a preview image for your downloadfile. Without preview image, a default icon will be used.
License mandatory / Select License: If a license is mandatory, tick the respective box and select a license
Password mandatory / Password If a password is mandatory, tick the respective box and enter the desired password into the field. By clicking Switch display state, the password will be displayed/hidden (this is for informational purposes only) By clicking Create password, a random password will be created. It can be viewed by clicking the Switch password state button.

Tab Publish: In this tab, the author and various publishing options can be set.
Tab Metadata: This tab contains settings that are relevant for search engines.
Tab Rights Management: This tab contains permission settings for this Download item. However, the default should be correctly set, so changes should be neccessary only in special cases.
4.2 Importing files from a directory for the joomla download manager
If many Downloads need to be created, it is much faster to import them. eXtro Downlaods (Joomla download manager) supports three methods:
a. import in the backend b. import via 'real' cron job c. import via so-called 'poormans cron'By using method b or c , Downloads can be automatically created (and synchonised) without user intervention.
All crons must be configured manually, so you should have a brief knowledge of a server and its directory structure.
In the following, all three methods are described.
4.2.1 Importing in the backend
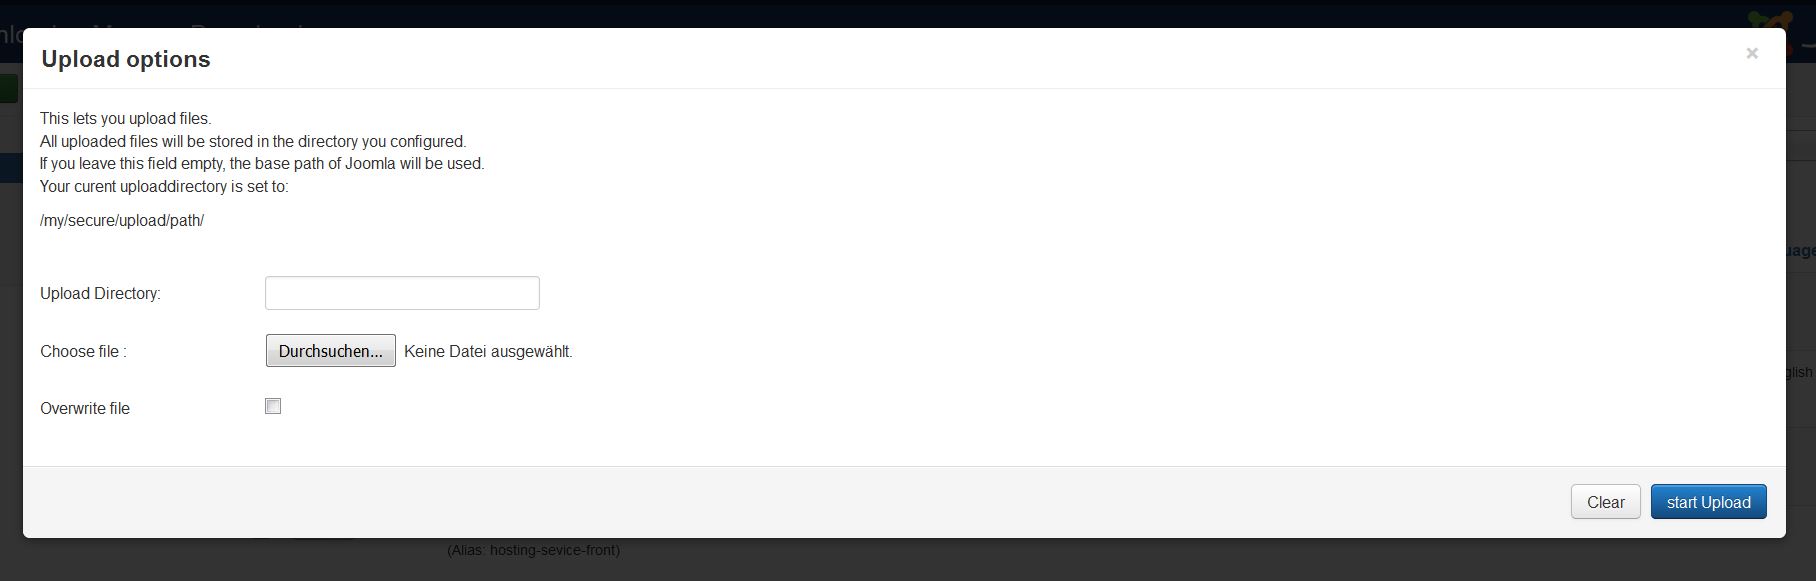
Click the button Import files in the Downloads list. A dialog box will open which lets you configure the import settings.
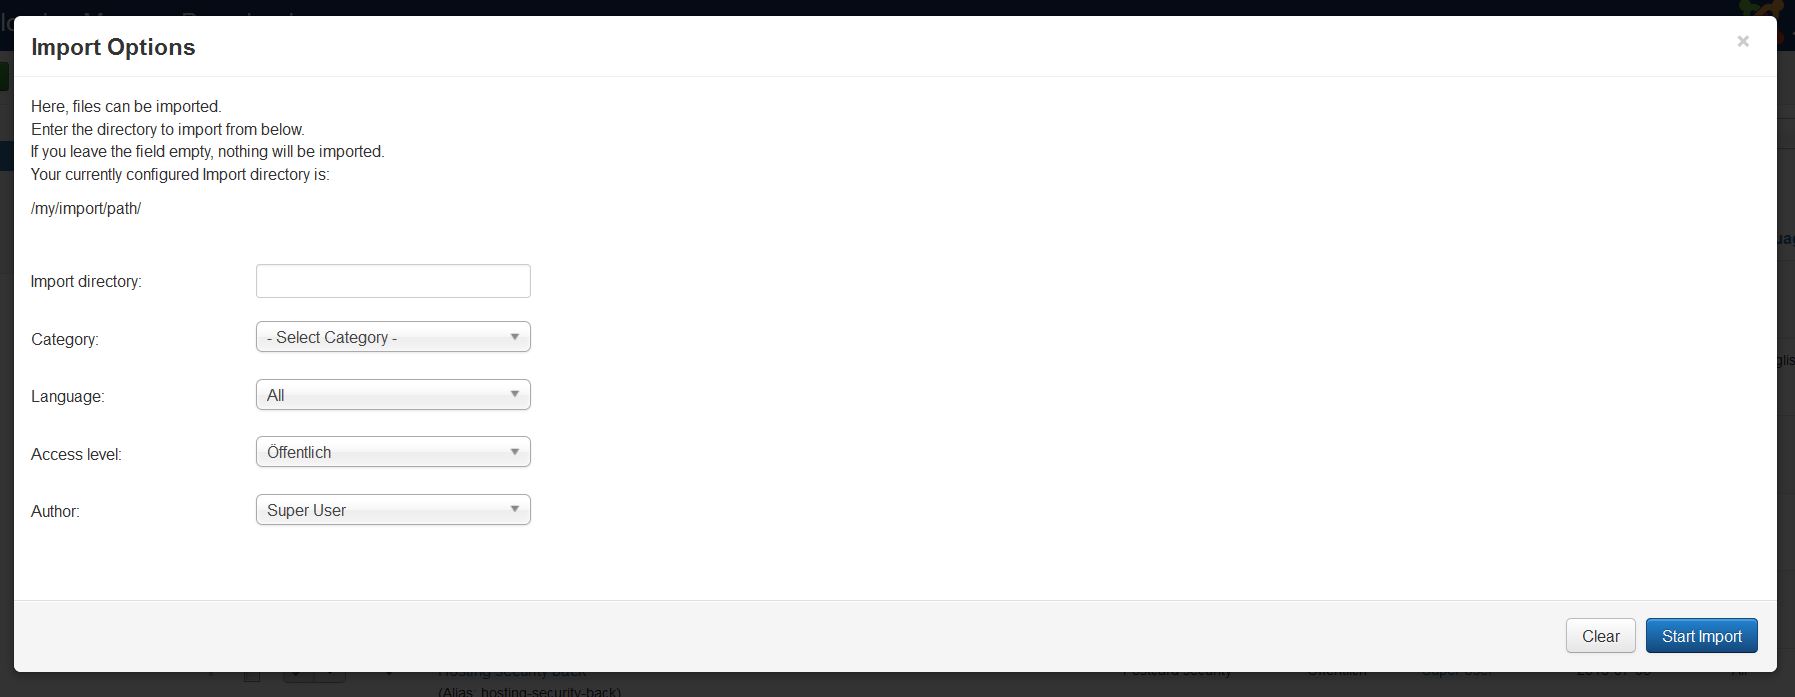
The following settings must be configured:
a. import direcory b. category c. language d. access level e. authorThe import directory is the directory to import files from. The complete path must be entered, i.e. starting from the servers root directory /. The Joomla docroot is displayed for informational purposes.
Next, select the category for the files to import.
The last 3 settings are preselected
For the language, the default is 'All'. If your site is multilanguage, changing this settings might be neccessary
The access level is set to 'Public' by default - you can select any access level, depending on who should have access to the file(s)
The author is set to the currently logged-in user (You!). If you are importing for someone else, you can select the respective username
To start the import, click the button 'Start import'. The files will now be imported - after the import has finished, the Downloads list will be displayed again.
4.2.2 Importing via 'real' cron job
A cron job is a recurring task that performs a specific function. In this case, the directories that have been configured will be checked for new files to import. To do so, the respective file needs to be configured first. A brief knowledge of the servers directory structure and PHP is needed to do so.
The cron file is located in the directory /cli in Joomla!'s docroot - it is called emdown_cron.php
To use this cron, the file needs to be edited first in order to configure the import directories.
Multiple directories can be configured to be imported, since each dataset consists of multiple arrays.
The datasets structure is as follows:
$imp_path[0] = ''; String, contains a valid path to the directory to import files from.
$imp_category[0] = 0; Integer, contains the category id for the files.
$imp_language[0] = '*'; String, contains the language code for the Downloads, e.g. * for All or en-GB for english.
$imp_usergroup[0] = 1; Integer, contains the access level ID that has permission to view the Download in the frontend.
$imp_creator[0] = 0; Integer, contains the user ID that own the Download items.
Any number of datasets can be created - however, the ID must be unique per dataset. Simply raise the number, e.g. 0, 1, 2 ,etc This means: in the first dataset, all arrays contain ID 0 , in the second dataset, all arrays contain ID 1 , etc
Additionally, a proctection against inadvertently starting the import has been built in. This variable is set to false by default:
$start_import
To allow import, this variable needs to be set to true.
Save the file when done configuring.
After all directories to import have been configured, the Cron job must be configured in the server.
If a control panel, such as e.g. Plesk is used, the cron job can be created very easily - simply click planned tasks (cron), select when to run the task and enter the action:
php *joomla docroot*/cli/emdown_cron.php
Depending on the version of Plesk, the PHP file can be run directly.
If no control panel is used, these settings must be done in the file crontab.
A detailed configuration guide is beyond the scope of this guide. Your system administrator or your hosting provider will help you certainly further.
4.2.3 Importing via so-called 'poormans cron'
A poormans cron is a Joomla plugin that needs to be configured similarily than the 'real' cron. The difference is, that it will be called directly from Joomla. This means you need to configure the directories to import, and activate the plugin afterwards. When activated, the plugin will check on every pageview of a logged-in user if files need to be imported.
Configuration is also done by directly editing the cron file. The following file needs to be edited:
*joomla docroot*/plugins/system/emdownpmc/emdownpmc_config.php
The datasets must be configured like this:
$imp_path[0] = '';
$imp_category[0] = 0;
$imp_language[0] = '*';
$imp_viewlevel[0] = 1;
$imp_creator[0] = 0;
These datasets must be configured exactly the same way as the 'real' cron, please see chapter 4.2.2
Additionally, the poormans cron contains the variable:
$max_per_call Integer, maximum number of files to import per pageview
A value < 0 imports all files found
A value = 0 imports nothing
A value > 0 imports this much files per pageview
Please note:
When using the poormans cron, newly added (read: uploaded) files will only be imported if a logged-in user browses the frontend site.
If you set the value of $max_per_call to -1, all files found will be imported at once - please make sure that your hosting package can manage this!
4.3 Copying/Editing existing Downloads
If you need many similar configured items, it makes sense to copy already existing items and edit them afterwards.
In the downloads list, tick the Download item that has been correctly configured and click the button Batch.

This displays a dialog box with various actions:
a. copy/move with/without category change b. change language c. change access level
If a Download should merely be copied (to the same category), tick the copy Downloads checkbox and click Process.
If a Download should be copied/moved to another category, additionally select the destination category.
The same applies for a language or access level change. Choose the new settings and click Process.
After copying your Download, you can additionally edit it.
Click the Downloads name and perform the changes.
When done, click Save to apply these changes.
5. The Download Log
By clicking eXtro Downloads->Logs, you can see who downloaded when which Download file.
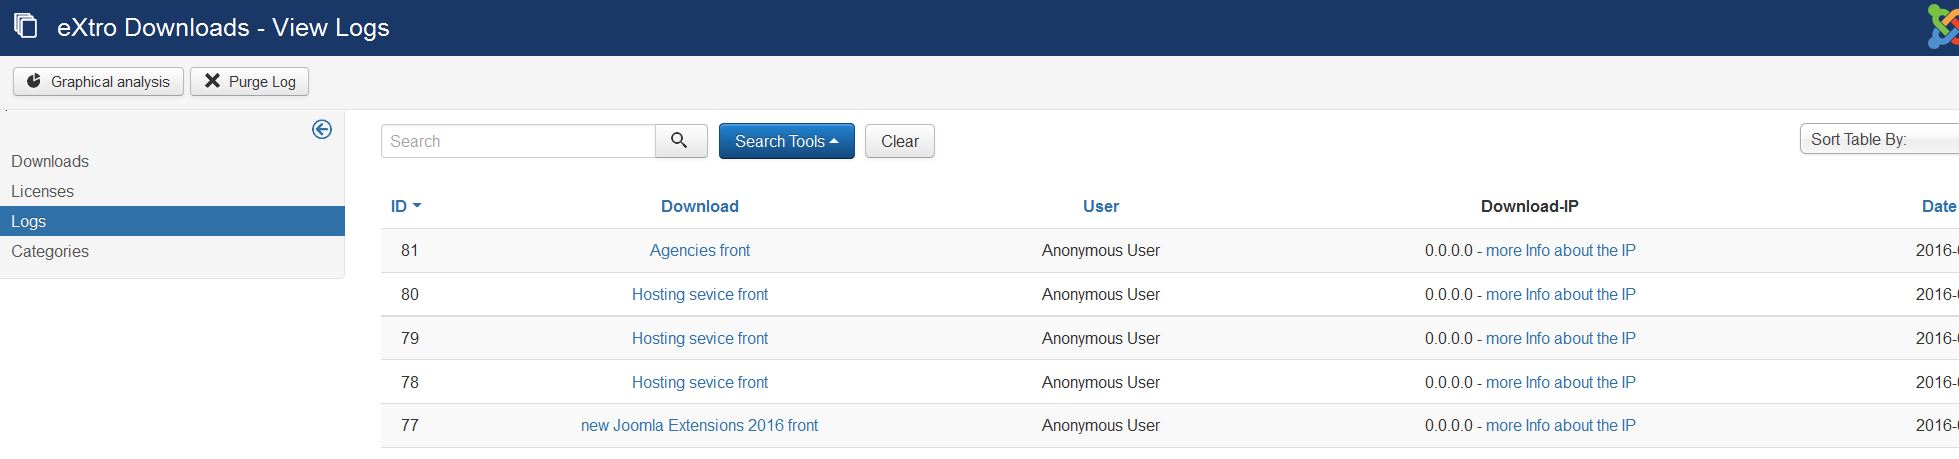
You can get more information about the IP by clicking the respective link (for each log entry)
By clicking the button 'Graphical analysis', you can see a graphical diagram of all Downloads within the last 30 days. This way you can see which of your Downloads is the most popular. The 30 day period is preselected - any period between 1 and 365 days can be selected.
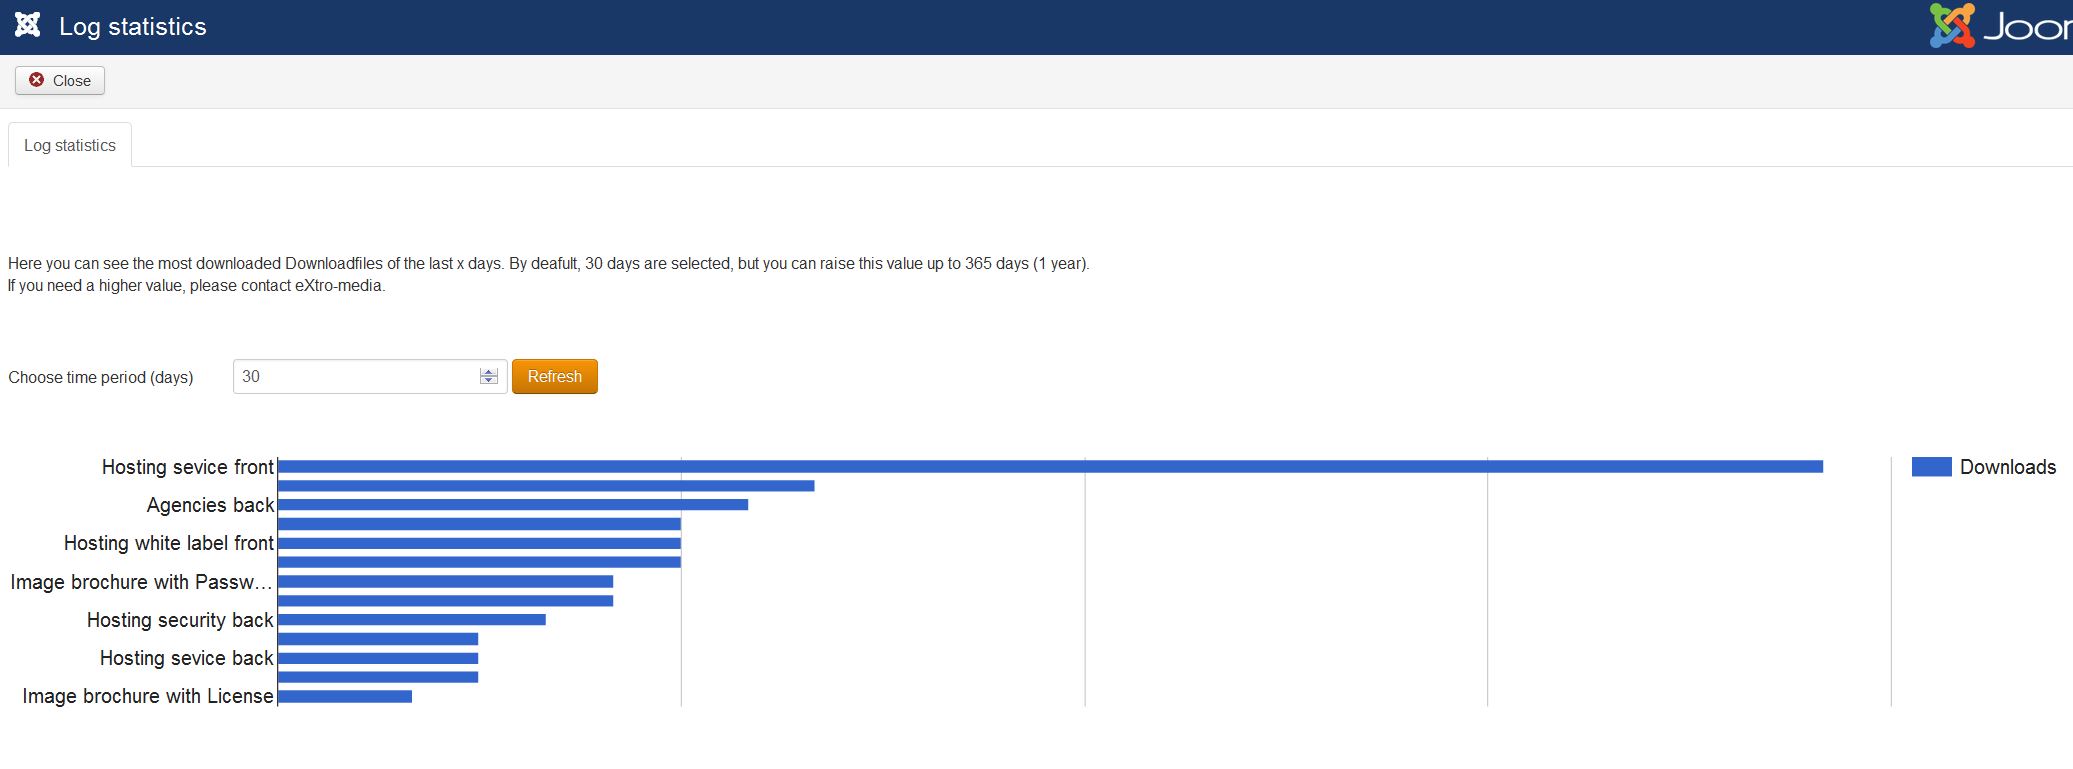
By clicking the close button, you can go back to the Download Log list.
If you wish to purge the log, click the respective button.
6. Additional features of eXtro Downloads (Joomla downloads manager)
Additionally to the features already described, the following actions are supported:
a. upload files b. archiving c. versioning d. batch processing e. trash with undeleteAlso, the already well-know default Joomla features like e.g. the search tools, sorting, pagination, etc. are included.

7. Frontend output
In order to display the downloads in the frontend, eXtro Downloads (Joomla downloads Manager) contains 7 different views. Specifically, these are:
- List view -- This view lists all download items and their respective category
- Direct Download -- The actual Download - normally not used in a menu directly
- Single Download -- A Single Download item
- Category view -- This view lists all direct Download items of a specific category, including the category's subcategories
- Categories as a flat list -- Lists all categories and their Downloaditems as a flat list
- Accordion view -- All direct subcats of the root category are used as Accordions, within the accordion, the Download items are displayed. Uses only categories of level 1 and 2
- Multidownload -- All dierct Downloads and the subcategories are listed, multiple items can be downloaded with one click
7.1 List view
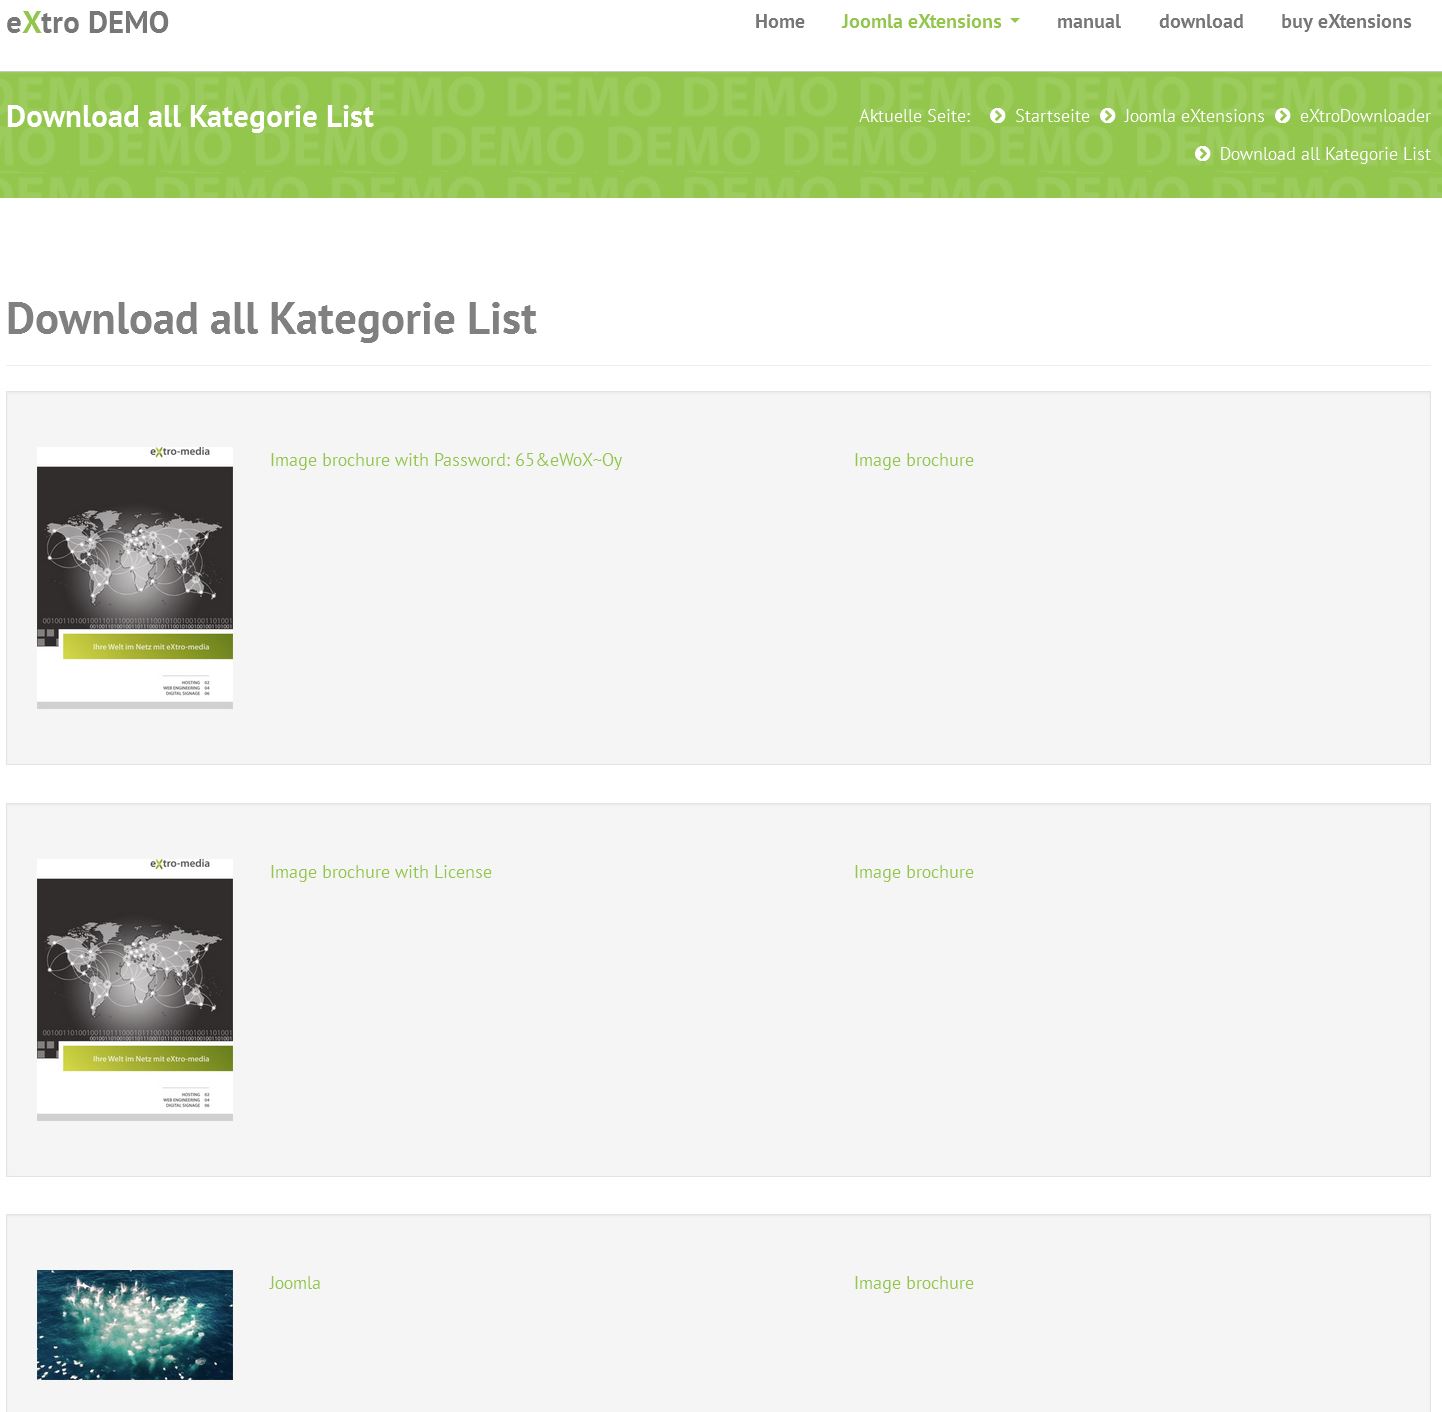
This view lists all Downloads from all categories.
Upon clicking one item, the Single view will be loaded, and the file can be downloaded.
You are using this view, if you have e.g. only few downloads, or if you want to give the user a overview of all Downloads.
7.2 Direct Download
This view creates a menu item which downloads a file upon clicking it.
Alternatively, you can use the link generated to create a link in a article.
In both cases, the download may not have license nor password assigned to it, since there is no possibility to query these from this view directly.
Mostly, this view is not used directly, but instead indirect from the other views.
7.3 Single Download
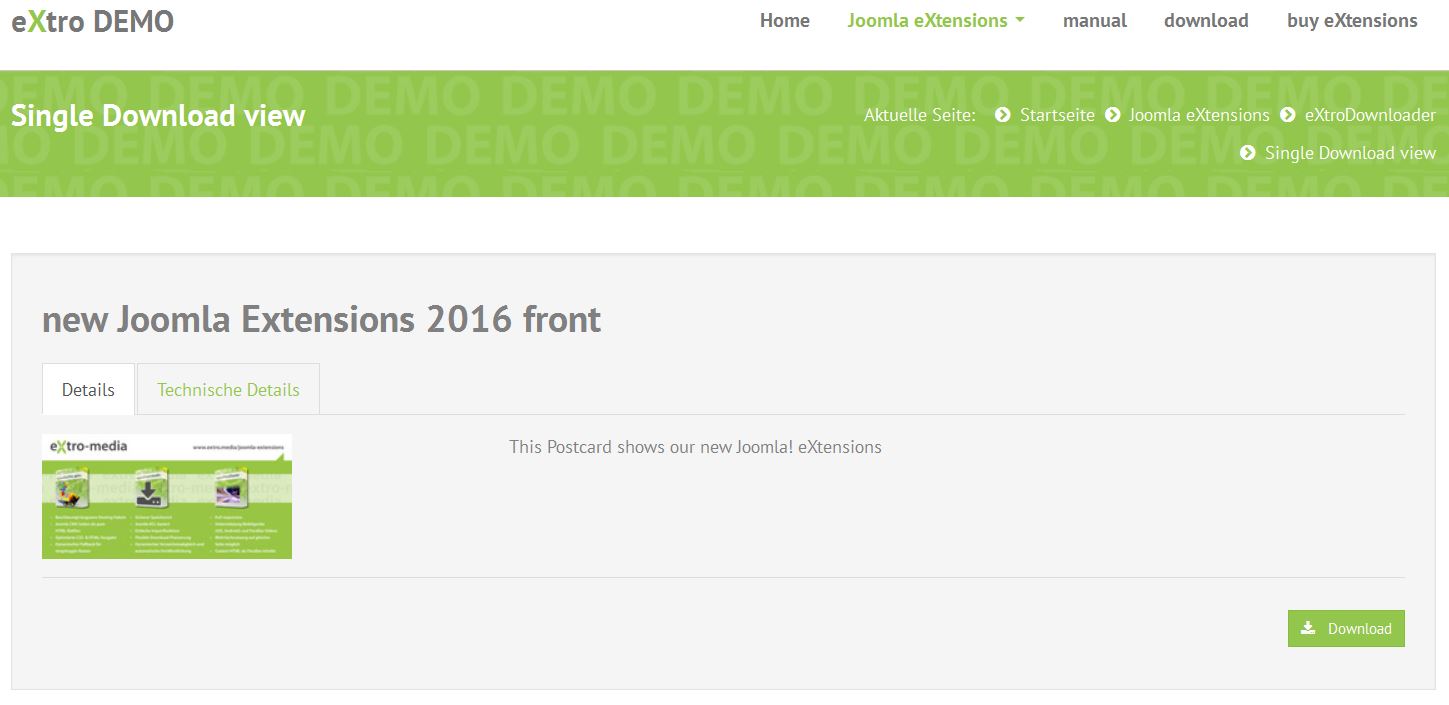
This is the detailed view of a single Download item. This view supports all options, i.e. password, license, preview image, description, etc.
Additionally, some technical details are displayed, such as download size, date, checksums, etc.
This view is used when the frontend user needs a maximum of information about the file to download. Also some other views link to this view.
7.4 Category view
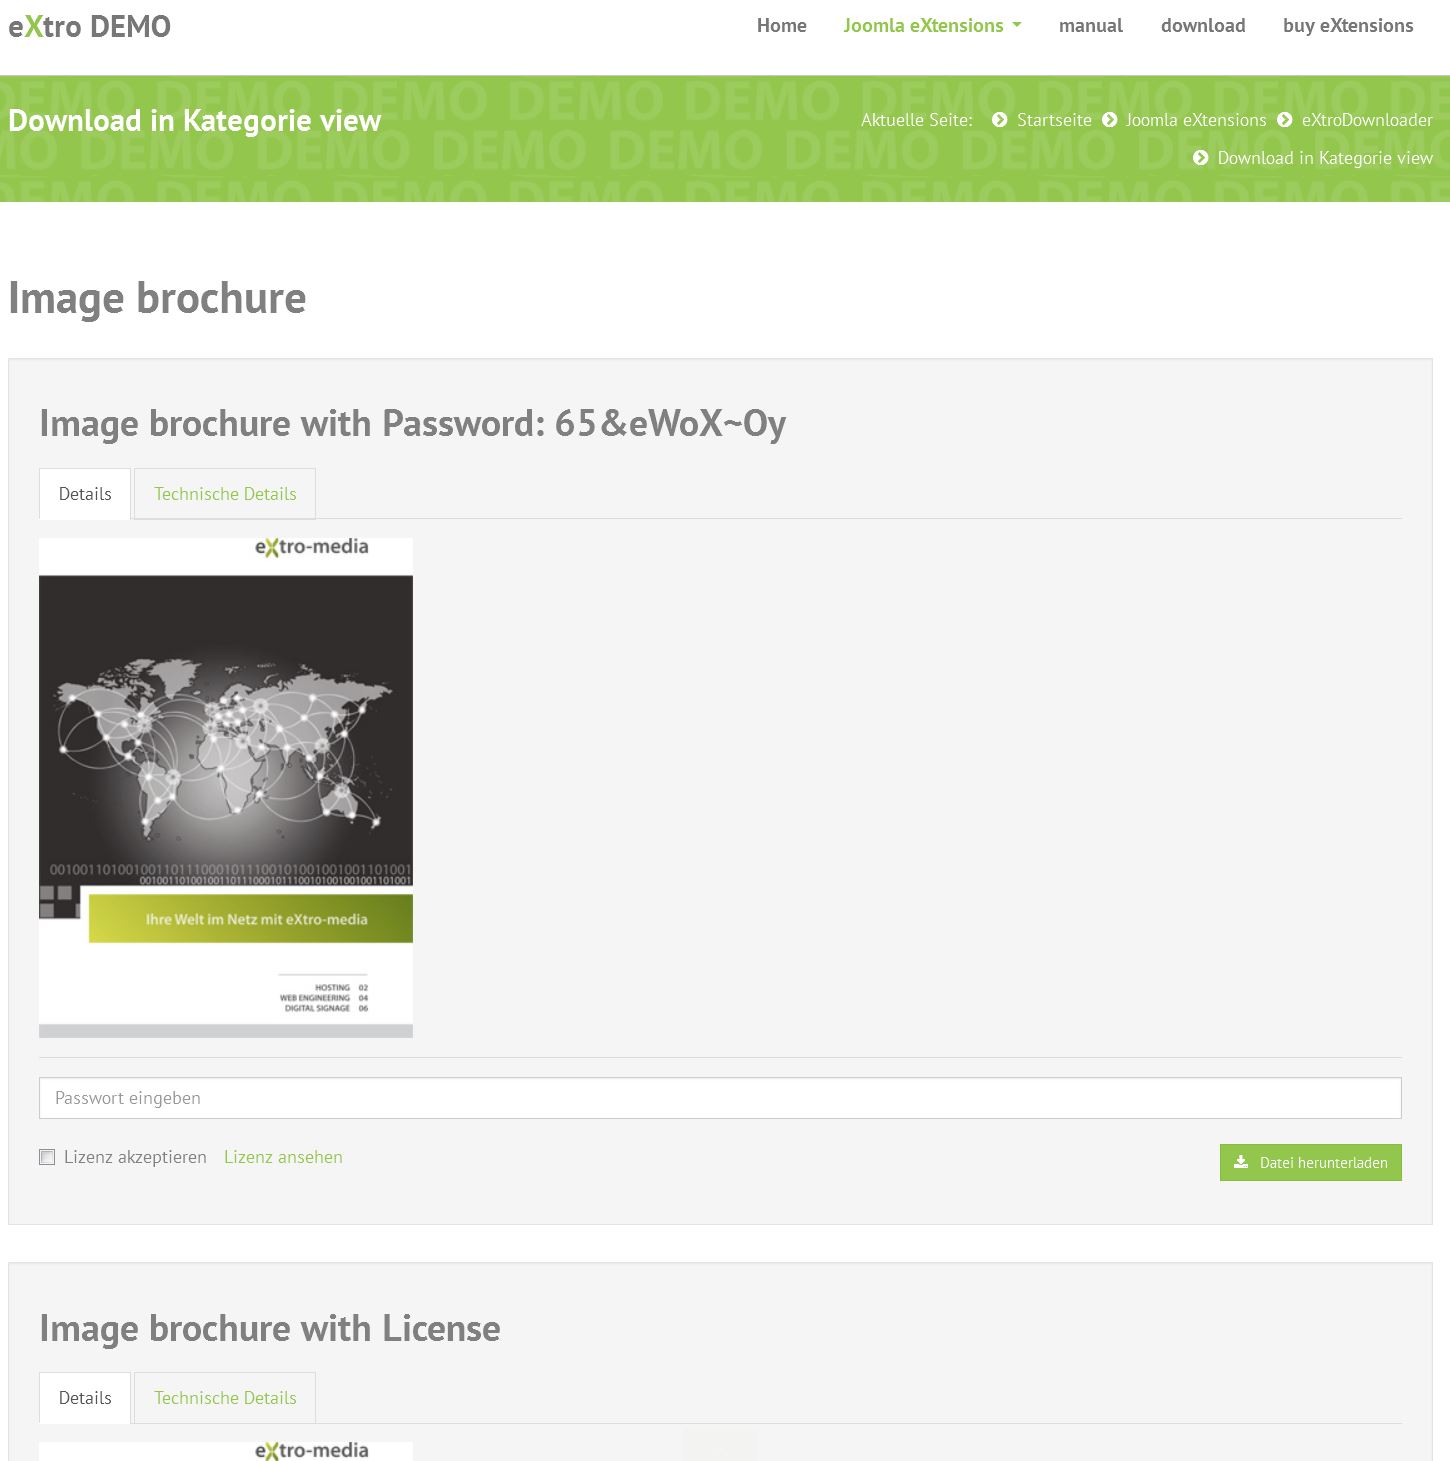
If you've categorized your Downloads, then this view is most likey the one to use.
This view displays all download items, and the Category description. If the category contains subcategories, these will be listed and can be entered.
The Download items listed in this view can be downloaded directly, password and license are also supported.
7.5 Categories as a flat list
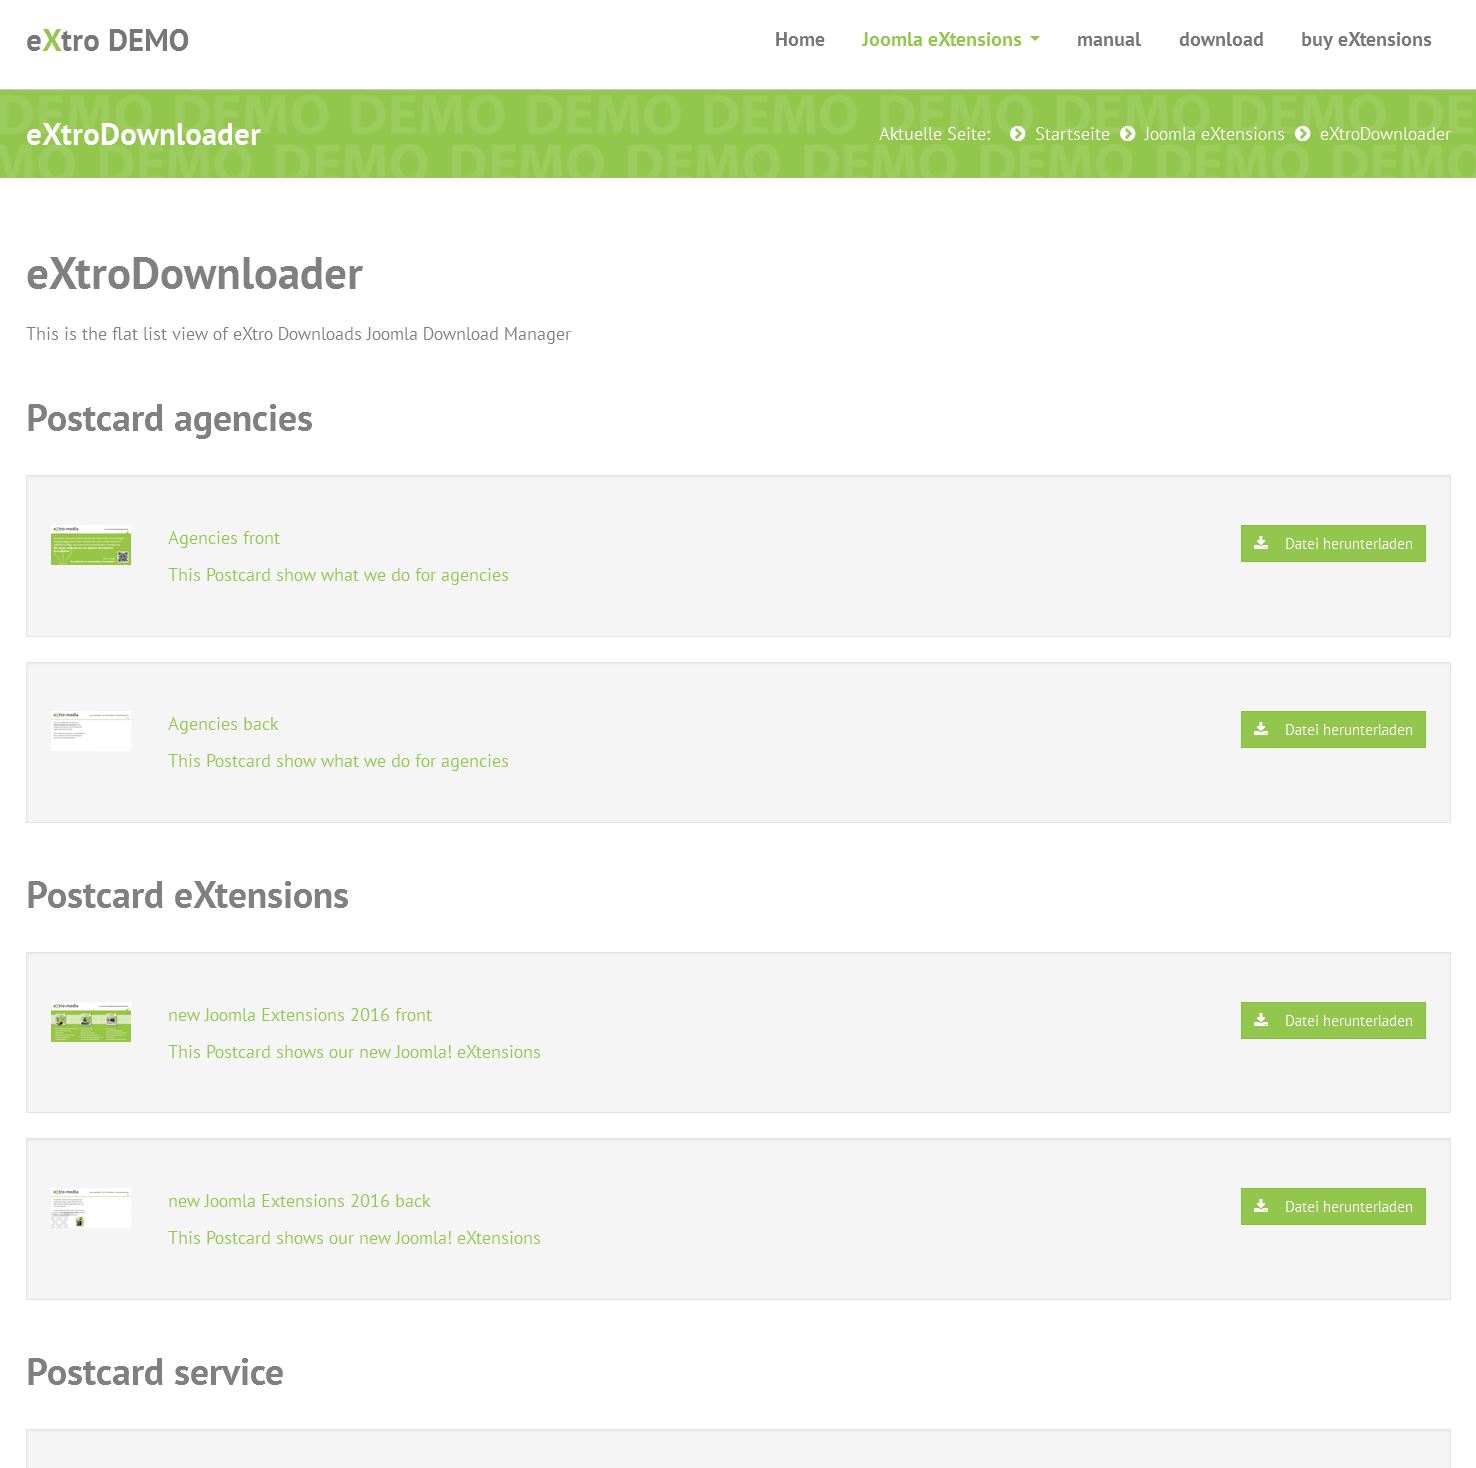
The flat list view displays all Download items from the subcategories of the selected category.
All Downloads are assigned to their respective categories, so that the user has an overview about the single categories. The single download items can be donwloaded directly, however, only items without password and license are supported.
This view is used when only few downloads are offered, but a categorization is needed.
Please note, Downloads that are directly assigned to the category selected in the menu item are not displayed.
7.6 Accordion view

This is a special view that only uses categories of level 1 and 2.
Download items from level 1 categories are displayed directly.
Category items level 2 are the accordion. Downloads level 2 categories are displayed within the accordions.
This view creates a very compact list that displays the downloads in accordions that can be opened/closed
This view also supports only Downloads without password and license.
This view is useful to display many downloads on limited space.
7.7 Multidownload
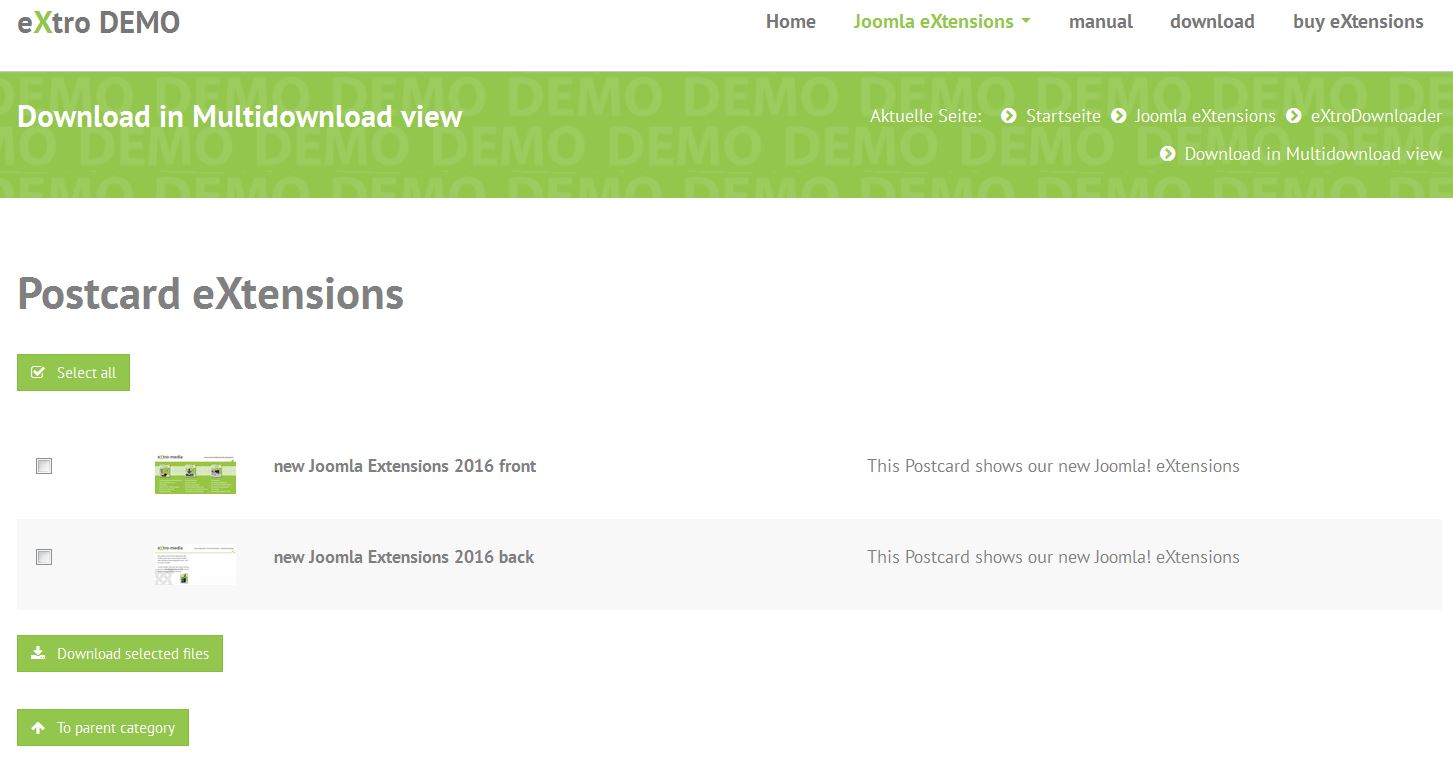
Multidownload is a view that has been especially developped for eXtro Downloads (Joomla download manager) No other download manager for Joomla contains this feature.
This view is similar to the category view. The difference however is that multiple items can be downloaded with one click. The frontend user selects the files to download by ticking the respective Downloadfiles. Afterwards, the Download button downloads all files marked.
This view is used if multiple items belonging together that are separated in multiple files are offered, or if the user should be able to download multiple files at once.
This view supports only items without password/license, to retain the advantage of fast selection.
7.8 General features of all views
All views support Joomla core ACL access levels, status (published/hidden) and support multilinguality.
If a Download file cannot be downloaded, e.g. due to a wrong configuration or accidential deletion of the file, this will be logged to the error log file, and the Administrator(s) will be notified by email.
The error log file (if errors have already occurred) is stored in the Joomla logs path.
8. Licenses
If you want the user to mandatory accept a license for a certain download file, do the following:
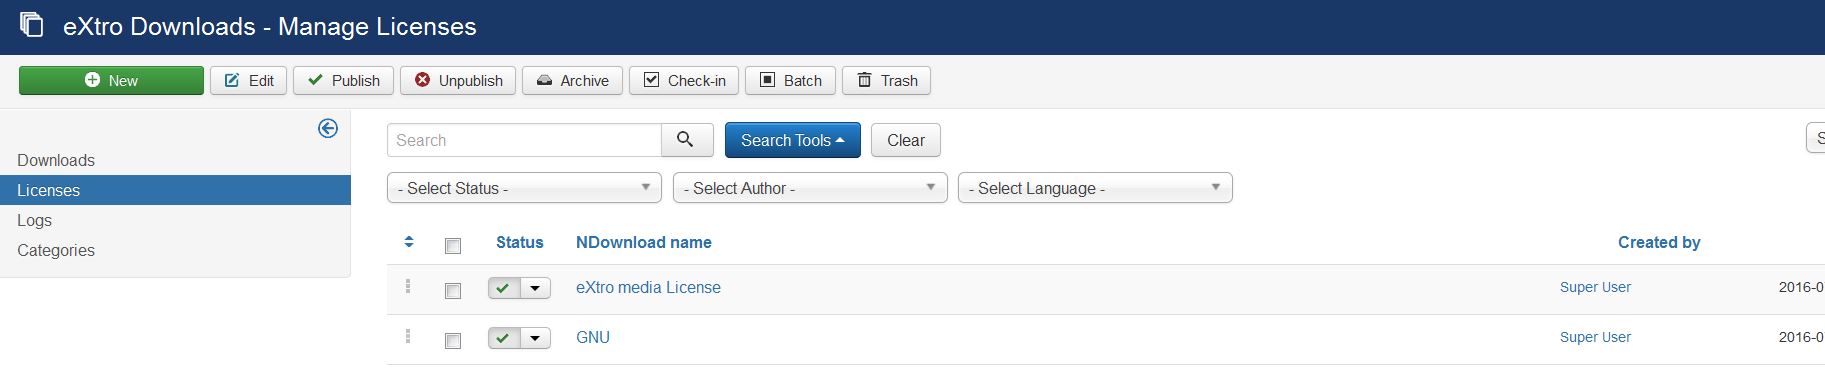
Create a new License first by clicking the menu item Licenses in the backend, and the buton new in the top menu.
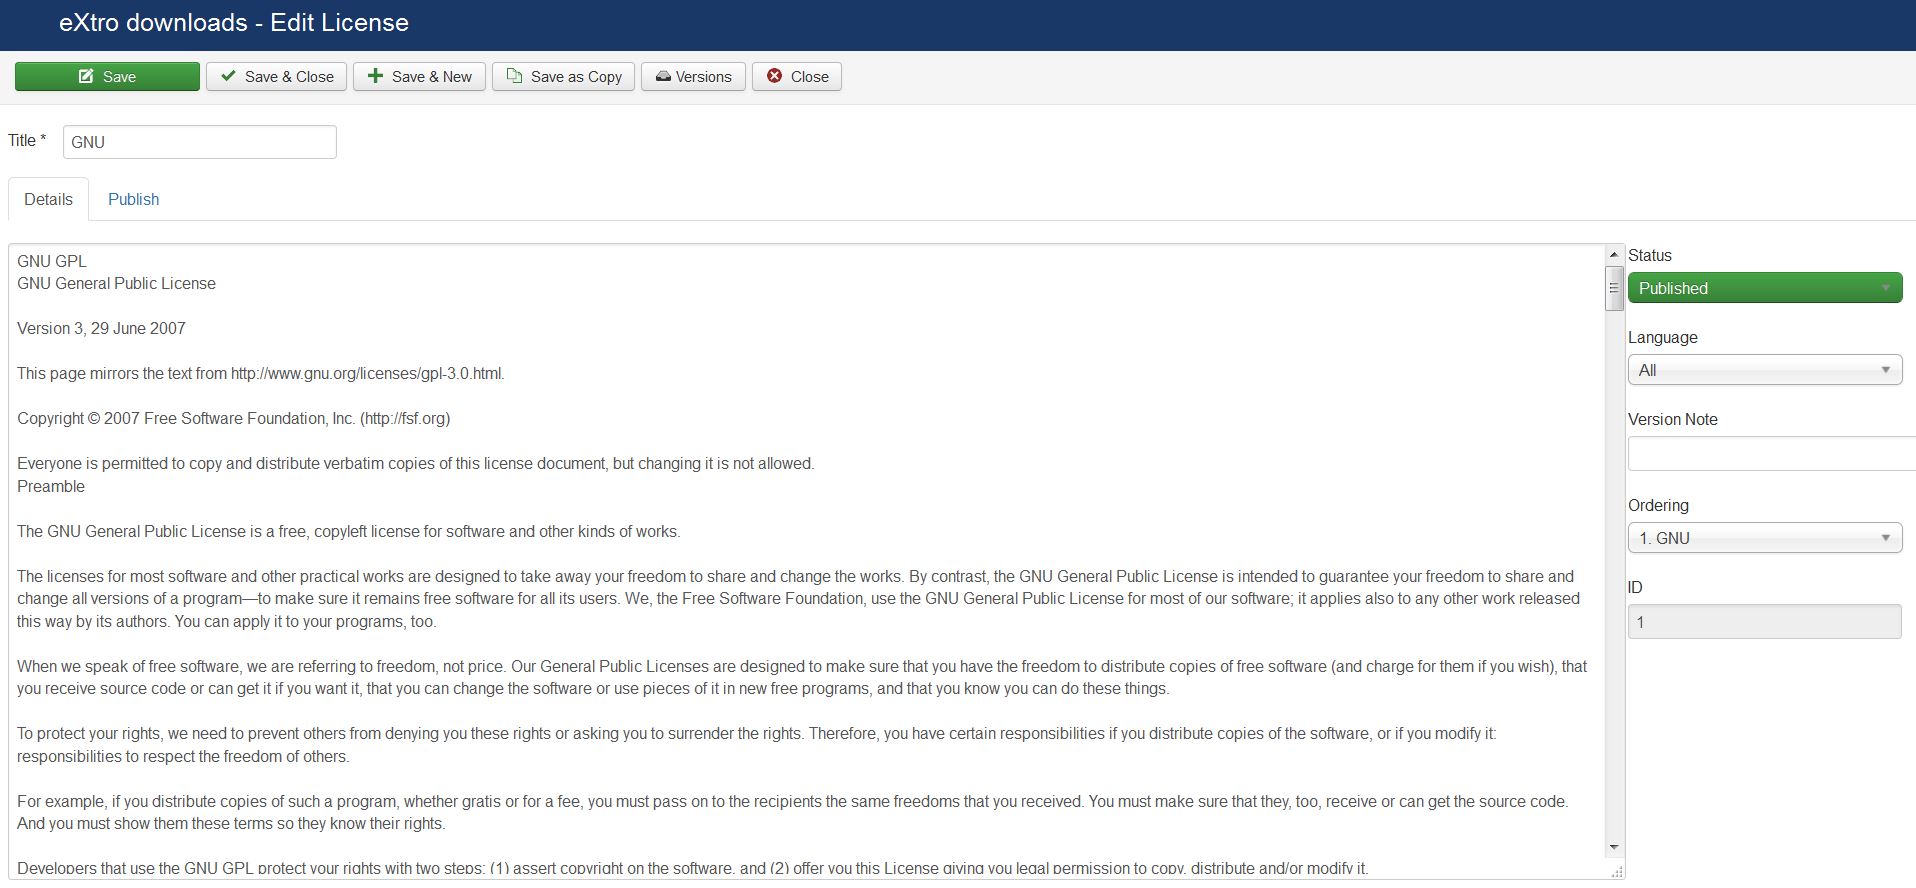
In the edit mask, enter the License name and License text, and click save.
Now that the license has been created, it can be assigned to a Downloadfile. Edit your Download item and switch to the Tab Advanced - here, you can tick the checkbox License mandatory and choose the License you just created. Save the download and switch to the frontend.
Now, before being able to download the item you just edited, a license must be accepted.
Please note: Not all frontend views support downloading items with a mandatory license. To make sure the license gets accepted, you should e.g. use the single Download view.
9. Using the Joomla/eXtro Downloads access control (ACL)
Joomla allows users to be configured so that e.g. user A has access to a specific Download file, but user B not. This is achieved by so-called access control levels (ACL). Since this is a Joomla core feature, eXtro Downloads also supports this feature.
Every element in eXtro Download Manager for Joomla (categories/downloads) can have its own access level setting. The access level assigned to the element determines which users have access to it.
A specific access level contains one or more user groups.
A usergroup contains the single users, i.e. users are assigned to a user group.
If User A is assigned to usergroup 'Registered', he can access all elements with access level 'Registered', since the access level level 'Registered' contains the user group 'Registered'
In the beginning, this may sound confusing, but it offers great possibilities in controlling access to each element.
Example:
You need a category to which only certain users have access. In this case, you need a custom access level and usergroup.
first, create a new usergroup using Users->Groups->Add new group
Enter a Group title (e.g. My Group), and select 'Registered' as the parent Group.
This way, the user must be logged to access the respective elements.
Save the new Group.
Now create a new Access Level by clicking Users->Access Levels->Add new Access Level
Enter a title (e.g. Level for My Group), and tick the checkbox in front of the newly created usergroup 'My Group'.
By doing so, only users with usergroup My Goup can see elements with the access level Level for My Group.
Save the access level.
Next, assign the group My Group to a user - this user will now have access to all elements with level 'Level for My Group', as explained above.
As a last step, you need to assign the desired elements (Categories/Downloads) the access level 'Level for My Group' to secure them with Joomla ACL.
More information about Joomla ACL can be found here:
Documentation: Joomla ACL
Video: Joomla ACL explained
2026-05-05